
Prompt Templates for Pro-level test cases
Get prompt-engineered templates that turn requirements into structured test cases, edge cases, and negatives fast every time.
Table Of Contents
- 1 Overview
- 2 What Is Android Espresso?
- 3 Key Principles of Espresso Workflow
- 4 Setting Up Espresso Test in Android
- 5 Best Practices for Reliable Espresso Tests
- 6 Debugging Flaky Tests & Handling Synchronization Issues
- 7 Integrating Espresso Tests into CI/CD Pipelines
- 8 How Testsigma Is The Best Alternative To Espresso
- 9 Conclusion
- 10 Frequently Asked Questions
Overview
What Is Android Espresso?
Espresso is Google’s UI testing framework for Android apps, designed for writing concise, reliable tests in Java or Kotlin. It integrates tightly with Android Studio.
Key Principles of Espresso Workflow
Espresso tests focus on user interactions with UI elements, follow a “Find–Perform–Assert” pattern, and benefit from automatic synchronization to reduce flakiness.
Setting Up Espresso Test in Android
Add Espresso dependencies, create test classes, and run tests directly on an emulator or Android device through Android Studio or Gradle.
Best Practices for Reliable Espresso Tests
Use Idling Resources, avoid hard-coded waits, adopt the Page Object Model, and run tests on real devices for broader coverage and reliability.
Debugging Flaky Tests & Synchronization Issues
Leverage Espresso logs, disable animations, handle dynamic content carefully, and run tests on stable devices or cloud labs to minimize flakiness.
Integrating Espresso Tests into CI/CD Pipelines
Espresso integrates with CI/CD tools via Gradle. You can run tests in pipelines, generate JUnit reports, and scale testing across multiple devices.
How Testsigma Is the Best Alternative to Espresso
Testsigma provides AI-powered, codeless automation across Android, iOS, web, and APIs. With real device labs, self-healing tests, and parallel execution, it simplifies mobile testing at scale.

What is Android Espresso?
Android Espresso is a UI testing framework developed by Google exclusively for Android applications. It enables developers to write clear and concise UI tests. Espresso is available in Java and Kotlin.
Key Principles of Espresso Workflow
- Focus on View Interactions – Espresso recommends writing tests based on how users interact with the application. Instead of directly manipulating low-level UI elements by their coordinates, you interact with Views as a user would.
- The “Find – Perform – Assert” Pattern – Locate the specific UI element (View) you want to interact with. This is done using onView() combined with ViewMatchers (e.g., withId(), withText(), withContentDescription()). Verify that the application’s UI behaves as expected after the action.
- Automatic Synchronization – This is Espresso’s most potent and differentiating feature. Espresso automatically waits for the application’s UI thread to be idle before executing test commands. It means you generally don’t need to add explicit Thread.sleep() or arbitrary waits, which are familiar sources of flakiness in UI tests.
- In-Process Testing – Espresso tests run on the device or emulator alongside your application within the same process. This “instrumentation test” nature gives Espresso direct access to your app’s UI elements.
- Small, Predictable API – Espresso’s core API surface is relatively small and focused, making it quick to learn and understand.
Setting up Espresso Test in Android
- Open your Android project in Android Studio.
- Add Espresso dependencies to your build.gradle (Module: app) file under androidTestImplementation:
1
2androidTestImplementation’androidx.test.espresso:espresso-core:3.5.
3          androidTestImplementation ‘androidx.test.ext:junit:1.1.5’
4- Sync the project to download and apply the dependencies.
- Create a new test class under src/androidTest/java/ directory.
- Annotate the class with @RunWith(AndroidJUnit4::class) to use the JUnit4 test runner.
Write a test method using Espresso APIs. Example:
1
2@Test
3fun testLoginButton() {
4    onView(withId(R.id.login_button)).perform(click())
5    onView(withText(“Welcome”)).check(matches(isDisplayed()))
6}
7- Use onView() to locate UI elements, perform() to simulate actions, and check() for validations.
- Run the test on an emulator or connected Android device by right-clicking the test method or class and selecting “Run”.
- Review the test result in the Run panel to see if it passed or failed.
Best Practices for Reliable Espresso Tests
- Use Idling Resources – Let Espresso know when background tasks (like API calls or animations) are complete to avoid flaky tests.
- Avoid Hard-Coded Waits – Do not use Thread.sleep(); rely on Espresso’s built-in synchronization for better stability.
- Keep Tests Atomic and Independent – Ensure each test focuses on one feature and does not rely on other tests or shared state.
- Follow the Page Object Model (POM) – Organize test code by screens or pages to improve readability and maintainability.
- Test on Real Devices – Run tests across multiple device types and OS versions for broader coverage.
- Use Meaningful Assertions – Validate expected behavior clearly, like checking if a success message is displayed or a button is enabled.
- Handle Permissions and Popups – Add logic to grant permissions or dismiss dialogs before running tests.
- Run Tests Frequently in CI – Integrate Espresso tests into your CI/CD pipeline to catch regressions early and ensure stability.
Debugging Flaky Tests & Handling Synchronization Issues
- Enable Espresso Logs – Turn on detailed logging for Espresso to get more insights during test execution and help identify timing or UI detection issues.
- Avoid Thread.sleep() – Never rely on fixed delays. Instead, allow Espresso to handle waiting automatically or use dynamic synchronization mechanisms.
- Handle Animations and Transitions – Disable animations in test builds to reduce UI instability and improve test consistency.
- Stabilize Dynamic Content – Avoid validating data that changes frequently, or add logic to handle dynamic UI elements safely.
- Test on Stable Devices – To minimize environment–related flakiness, use emulators or cloud-based device labs with consistent configurations.
Integrating Espresso Tests into CI/CD Pipelines
- Set Up the Testing Environment
- Install the Android SDK, necessary build tools, and device emulators (or connect real devices).
- Trigger Tests Using Gradle
- Use the command ./gradlew connectedAndroidTest in your CI script to build the app and run all Espresso tests on the connected device or emulator.
- Configure the CI Pipeline
- Add Espresso testing as a stage in your CI/CD tool (e.g., GitHub Actions, Jenkins, Bitrise):
- Checkout code
- Set up Android SDK
- Build the app
- Start emulator
- Run tests
- Add Espresso testing as a stage in your CI/CD tool (e.g., GitHub Actions, Jenkins, Bitrise):
- Generate and Share Test Reports
- Espresso generates JUnit-compatible test reports automatically.
- Integrate reporting tools like Allure or use your CI’s built-in report viewer to visualize results and failures.
- Optimize and Scale Testing
- Use annotations (@SmallTest, @LargeTest) to run tests selectively.
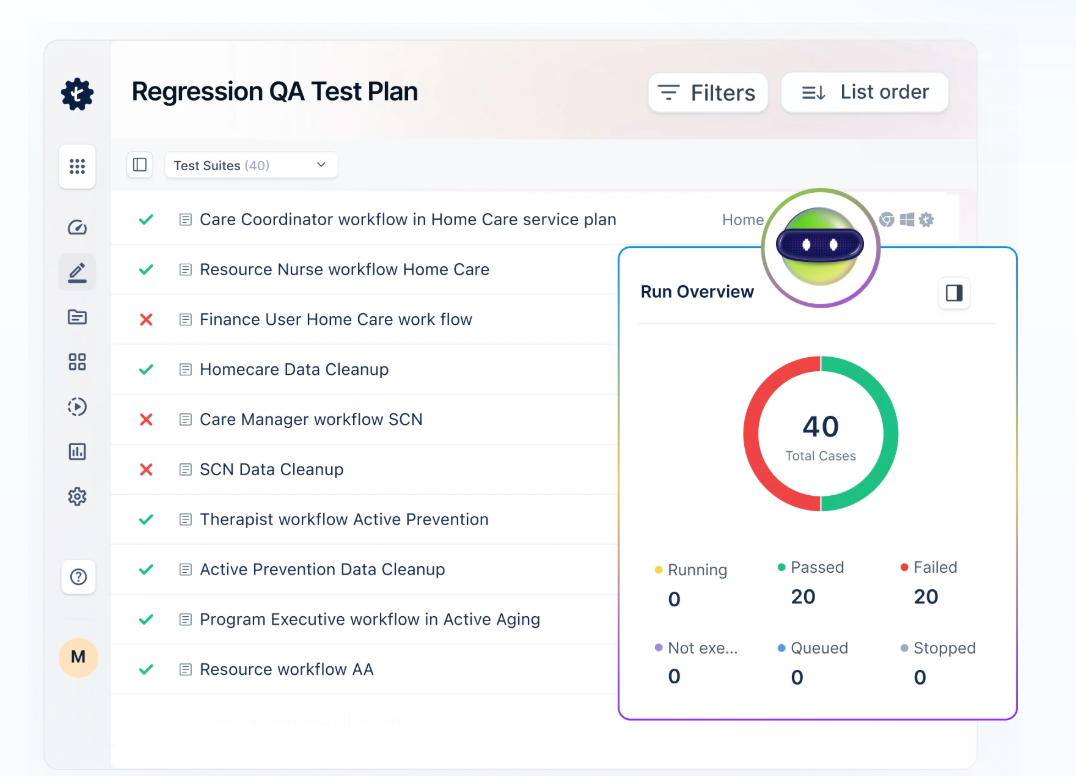
- Run tests in parallel or across multiple devices to reduce execution time using tools like Testsigma or Firebase Test Lab.
Run your Android tests across 3000+ real test environments – Start Testing
How Testsigma is the Best Alternative to Espresso
While Espresso is a powerful tool for native Android UI testing, Testsigma offers more comprehensive, scalable, and advanced capabilities, especially for teams aiming for faster development cycles and cross-platform coverage. Here’s why Testsigma stands out:
- AI-powered Visual testing – Testsigma aids testing with the intelligent agent Atto. Atto performs different testing tasks with its specialized agents, each doing its defined action.
- Sprint Planner Agent – Plans your tests as soon as a Jira sprint starts.
- Generator Agent – Instantly creates test cases with inputs from prompts, Figma designs, JIRA tickets, documents, videos, images, and more.
- Optimizer Agent – Continuously analyzes and refines your test suite, prioritizing high-impact tests to keep your suite lean and reliable.
- Analyzer Agent – Delivers actionable insights linked to code changes, helping teams understand the impact of updates and accelerate release cycles.
- Runner Agent – Executes tests across multiple test environments.
- Bug Reporter Agent – Captures detailed logs, screenshots, and test steps for every failure, speeding up debugging.
- Cross-platform compatibility – Write and manage automated Android, iOS, web, and API tests, all from a single platform.
- Parallel testing – Run multiple tests simultaneously across devices or browsers to significantly reduce execution time.
- Self-healing capabilities – Automatically updates tests when minor UI changes are detected, reducing test maintenance effort.
- Device lab – Access a cloud-based lab of real Android and iOS devices for on-demand testing without local setup.
- Faster execution – Optimized test infrastructure ensures quicker test runs and more rapid feedback during development cycles.
Conclusion
Suppose you want to scale your mobile testing, reduce flakiness, and empower more team members to participate in QA, even those without coding skills. In that case, Testsigma is a powerful and modern alternative to Espresso. It retains the depth testers need while eliminating the complexity and maintenance overhead of traditional Android Espresso tests.
Frequently Asked Questions
Android Studio has a built-in feature called Espresso Test Recorder. It lets you interact with the app (tap buttons, type text, scroll) and automatically creates the test for you. You do not need to write code manually. To use it, go to the Run menu in Android Studio and click Record Espresso Test. Once you’re done recording, you can save and run the test.
Espresso Tests or Espresso Android testing is made just for Android testing and is tightly connected to Android tools. It’s swift and works best if your app is Android-only. Appium, on the other hand, is a more flexible tool that can test Android and iOS apps. Appium is good if you want to write one set of tests that run on both platforms, but it might be slower than Espresso and more complex to set up.
Espresso Tests or Espresso Android testing is made just for Android testing and is tightly connected to Android tools. It’s swift and works best if your app is Android-only. Appium, on the other hand, is a more flexible tool that can test Android and iOS apps. Appium is good if you want to write one set of tests that run on both platforms, but it might be slower than Espresso and more complex to set up.

